
decomposing 2D Shapes Using Engaging Sidewalk Chalk Learning ACtivities
Thanks to almost two weeks at home during CoVid, we tried out our own “Chalk Your Walk” project earlier this week! We had seen pictures shared on Facebook with some sidewalk chalk learning activities, so I knew we had to try it!
Little did I know we would end up with the PERFECT first grade decomposing 2D shapes lesson right at the start of Spring Break! This activity was a great follow up after our work with shapes at home and would be a great shapes activity in the summer! Here’s how we joined the trend and learned quite a bit of math skills all in the name of “Chalk Your Walk” fun!
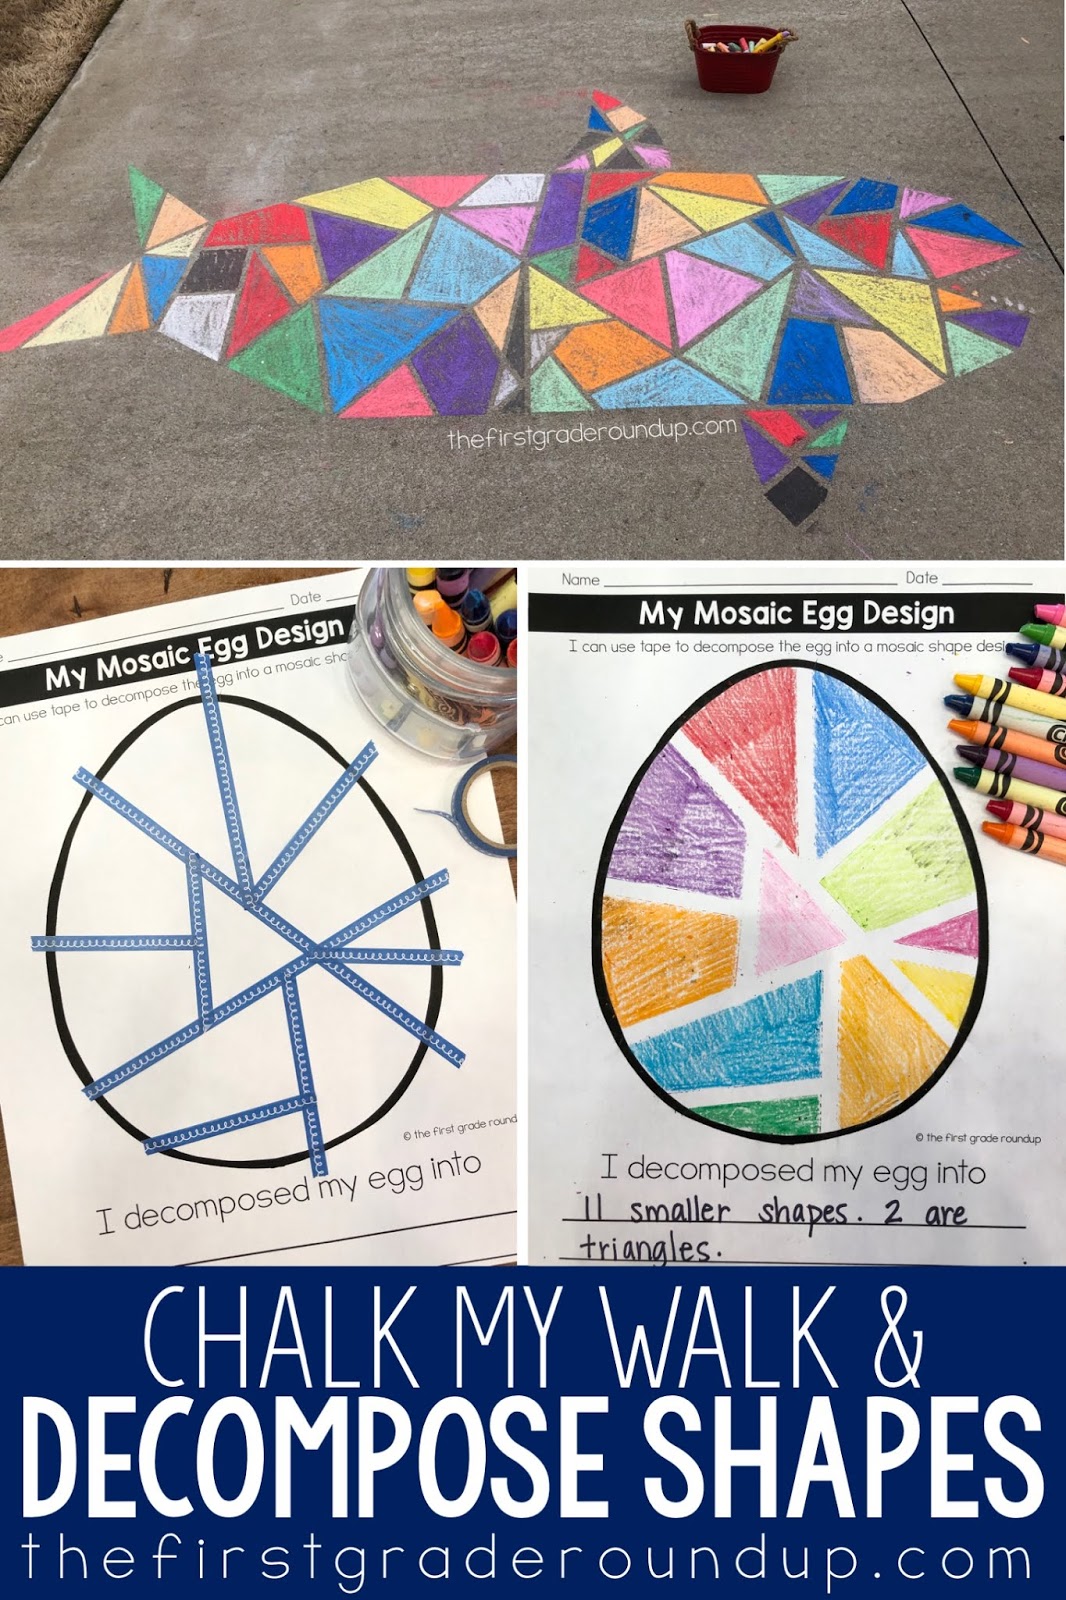
The designs I had seen online showed coloring in an entire sidewalk with a mosaic, stained glass design. But before we conquered that, I wanted us to try something smaller on the driveway. My shark loving kiddo wanted to do a shark (of course!), so we got busy!
Taping Off the Shape Design
First, we taped off the outline of the shark. The shared pictures online showed using painters tape. But we didn’t have any one inch painters tape, so we tried out washi tape because I have an ENDLESS supply of it that was given to us. Washi tape worked just fine (but probably more expensive if you don’t already have a ton on hand you need to use up).
Then, we divided his fins and tail with tape. And then we filled in the large part by dividing the shark into two parts on the diagonal.
Decomposing 2D Shapes
From there, we simply started adding taped lines to make shapes–we were decomposing our 2D shapes without him even realizing it! For preschoolers and kinders, this would be a great time to have them name the shapes you are taping off as you go. You could even have them touch the “side” of the triangle or a “vertex” of the shape.

And that’s when I realized we were hitting some first grade math standards with this! I taped off a huge triangle in our shark.

Then, I had Cooper grab his washi tape and decompose my big triangle into smaller shapes. We actually used that language. I said, “Take your tape and decompose my triangle into smaller shapes…I can’t wait to figure out how you decompose it!” It may be hard to tell, but first he decomposed the bigger triangle into 2 right triangles. He said, “Look, Mom! I turned it into 2 smaller triangles.” So, I reinforced our math language and said, “Yes! You decomposed my bigger triangle into two right triangles!” Within minutes he was using the words compose and decompose too!

Once we finished decomposing 2D shapes, we got to coloring!

Filling In the Shapes
We each used a different color chalk and colored five shapes with that same color before we switched colors, but obviously, you can color however you want to! This just helped us to plan and spread out the colors before getting too far in to it.

Once we finished coloring, it was time to remove the washi tape!

I just LOVE how our little shark turned out!

And he was so proud of his creation.
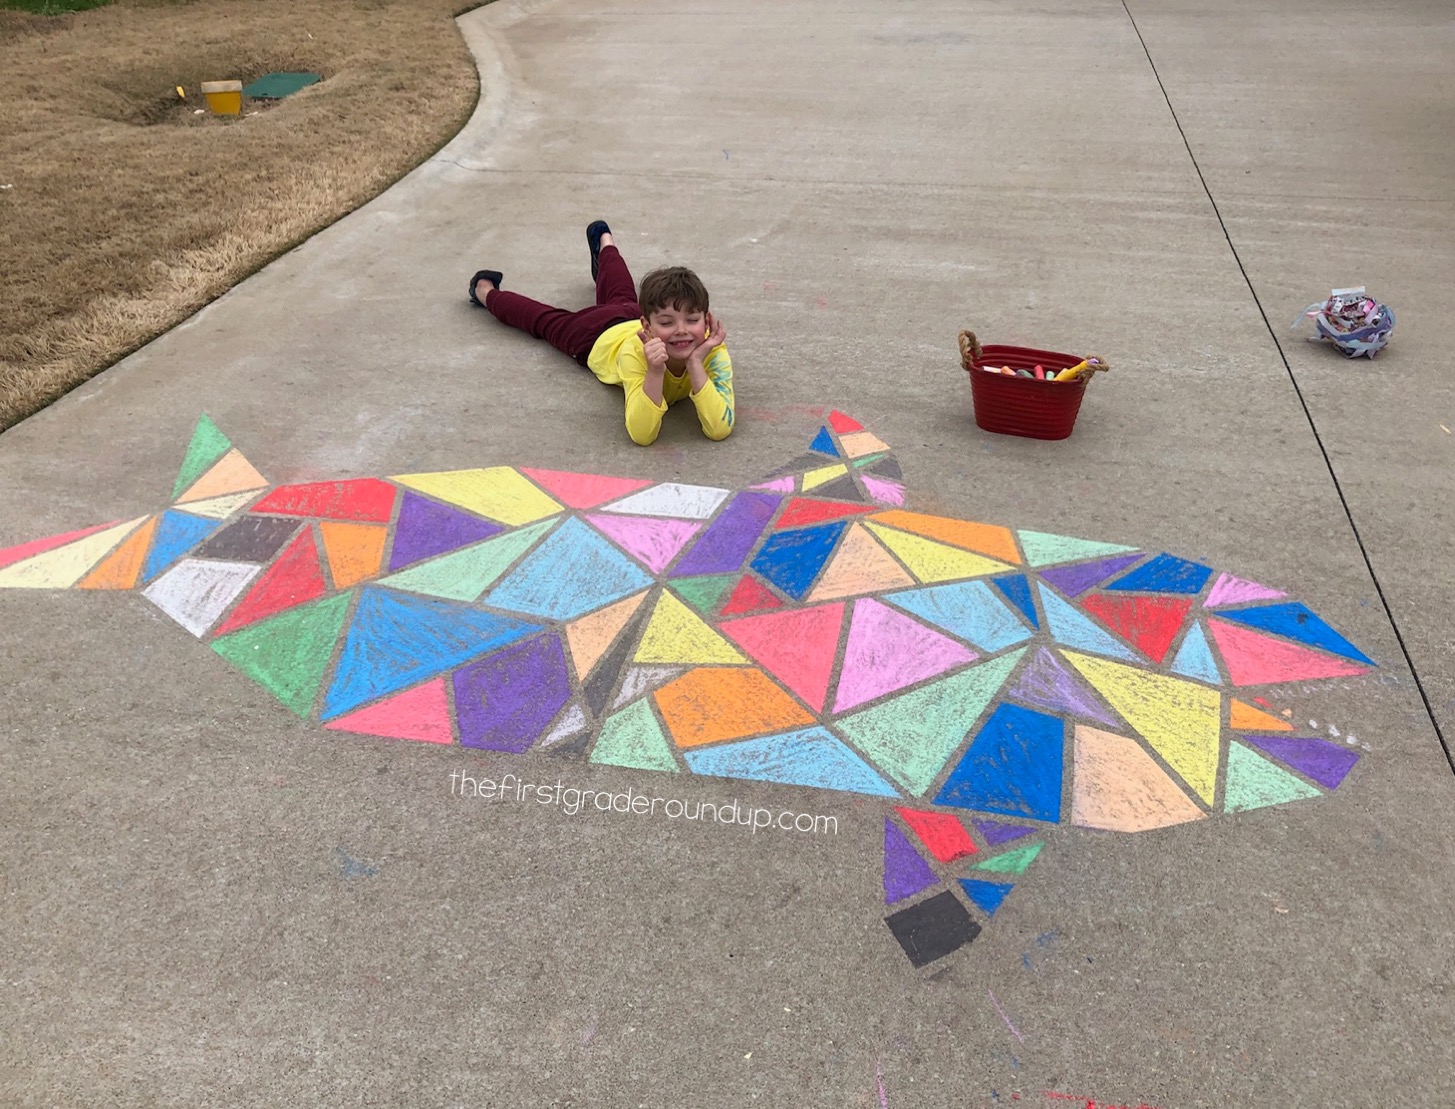
I mean, look at that sweet face! Who knew math could be so much fun!?!

A Printable Version
This is the perfect at home math activity for decomposing 2D shapes or summer time math lesson! But you can easily do this in the classroom too! Just use some washi tape and crayons and do the same thing! Then, have your first graders write about how they decomposed their shape!
Here’s a look at the steps for the printable activity.


This makes a fun Easter hallway display!

Find the decomposing 2D shapes printable activity here with 6 shape options!
