
Kid Favorite landforms STEM ACtivity: build an island
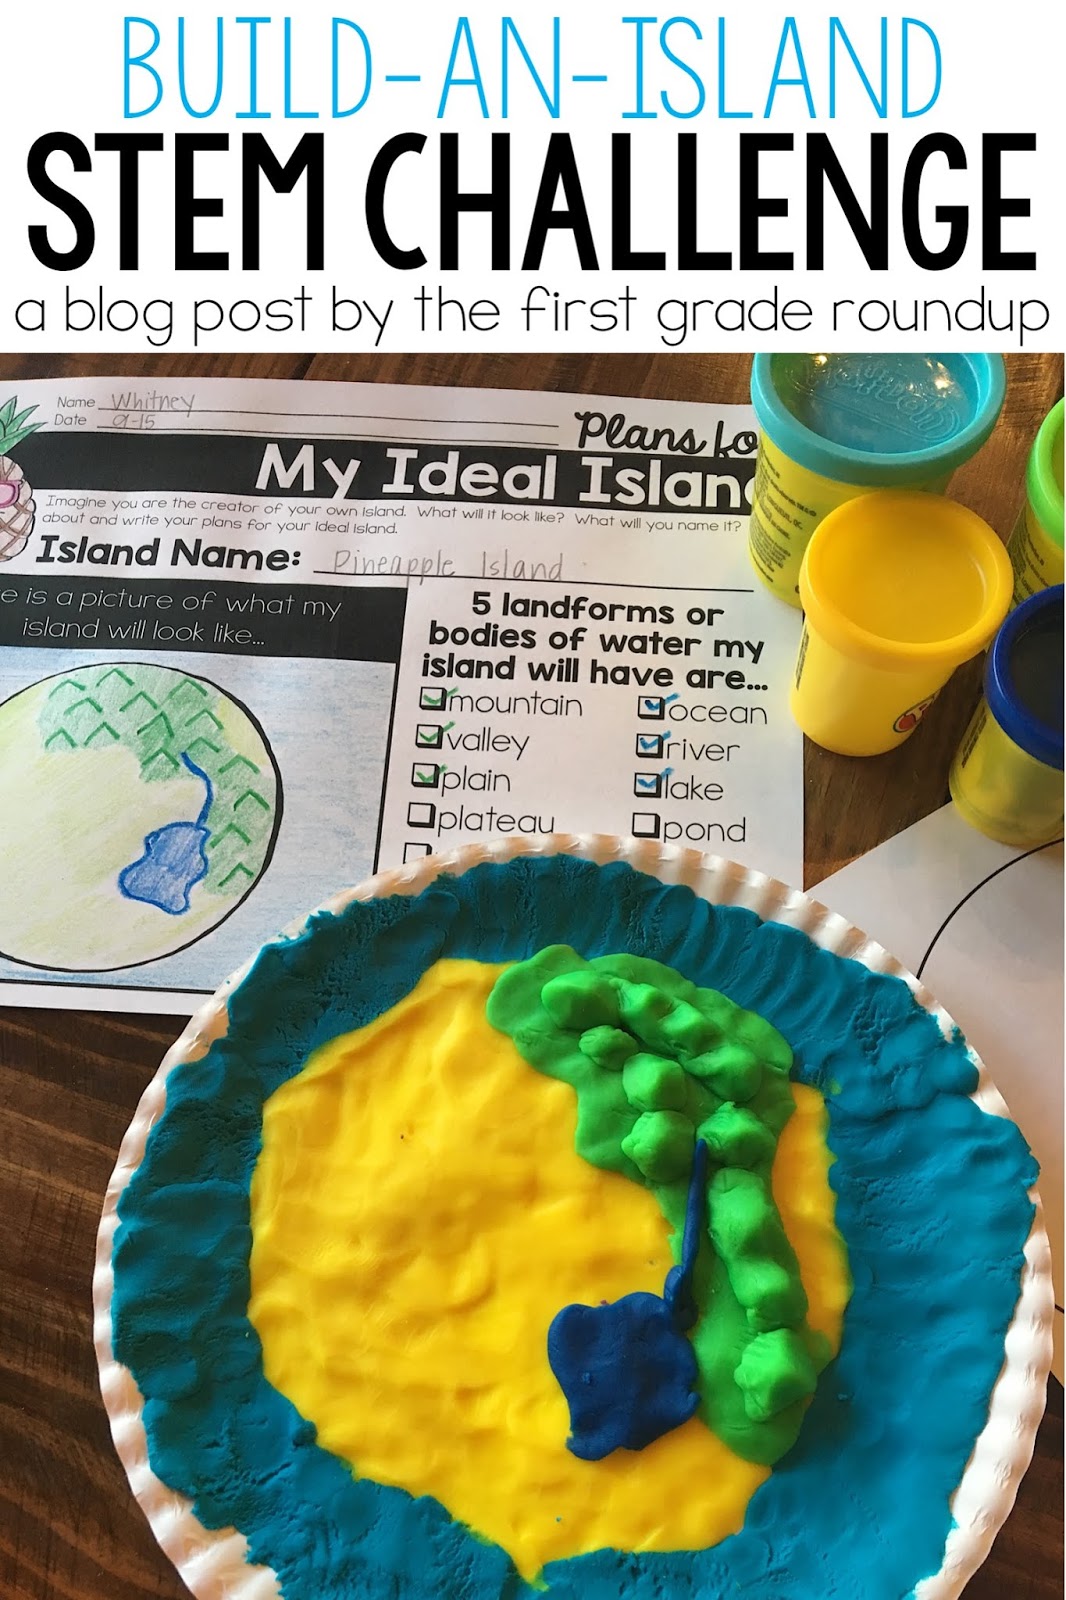
I love when creativity and science meet and become friends! And that’s why I love this landforms STEM activity so much! Even though this STEM challenge was written for 2nd graders working on the Landforms unit from the Next Gen Science units, we are using PLAY-DOH! Kids are never too old to build with play-doh, right? Even my 12 year old loves to build with it with my littles!
(This post contains affiliate links to help fund my chocolate addiction and support this corner of cyber space)
Before we get started talking about this landforms STEM activity challenge, can we just all agree to play “Islands in the Stream” while our students build their perfect island. Yes? Good. I knew we were good friends!
STEM Anchor Chart
For my STEM projects and challenges in my Next Gen units, I like to use my “Invent Me” anchor chart to help primary kids understand the steps to solving a problem. I first started using this with my first graders and it made inventions and problem & solution projects SOOOO much easier!

setting up the problem
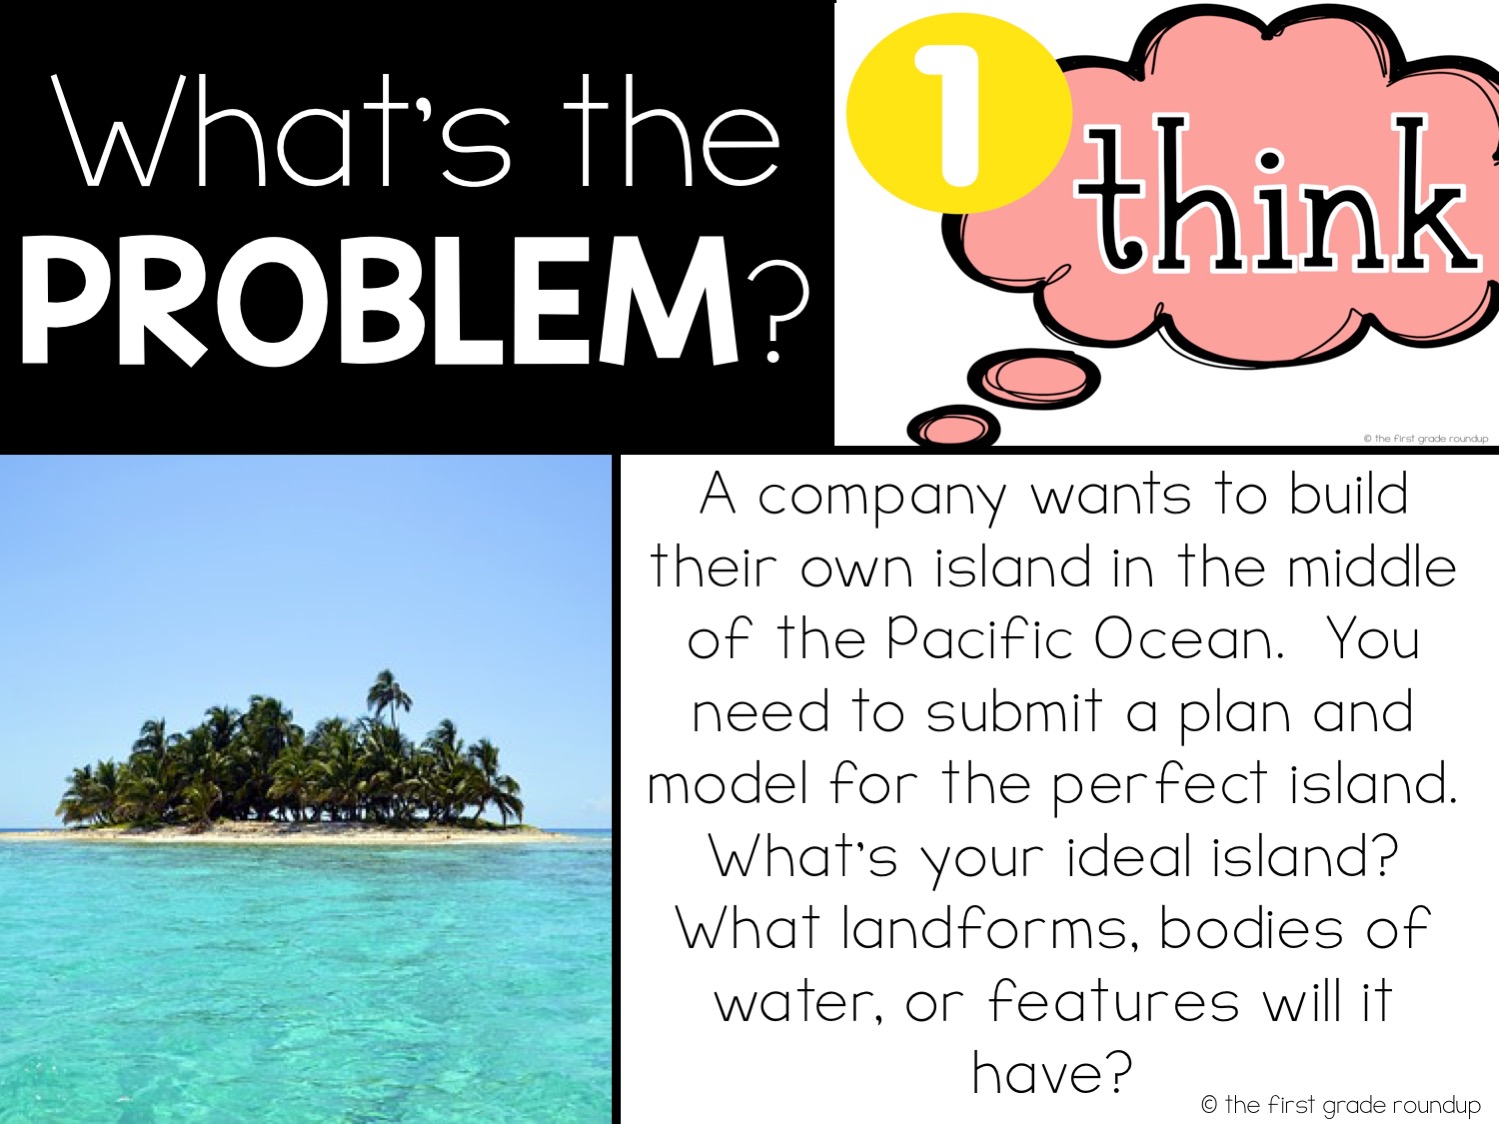
The first thing I do with our Next Gen STEM challenges is pull up our problem slide and read the problem scenario to the kids. We discuss what our ideal island is and why. And we use our new vocabulary to talk about what landforms and bodies of water it will have.
Plan the Idea
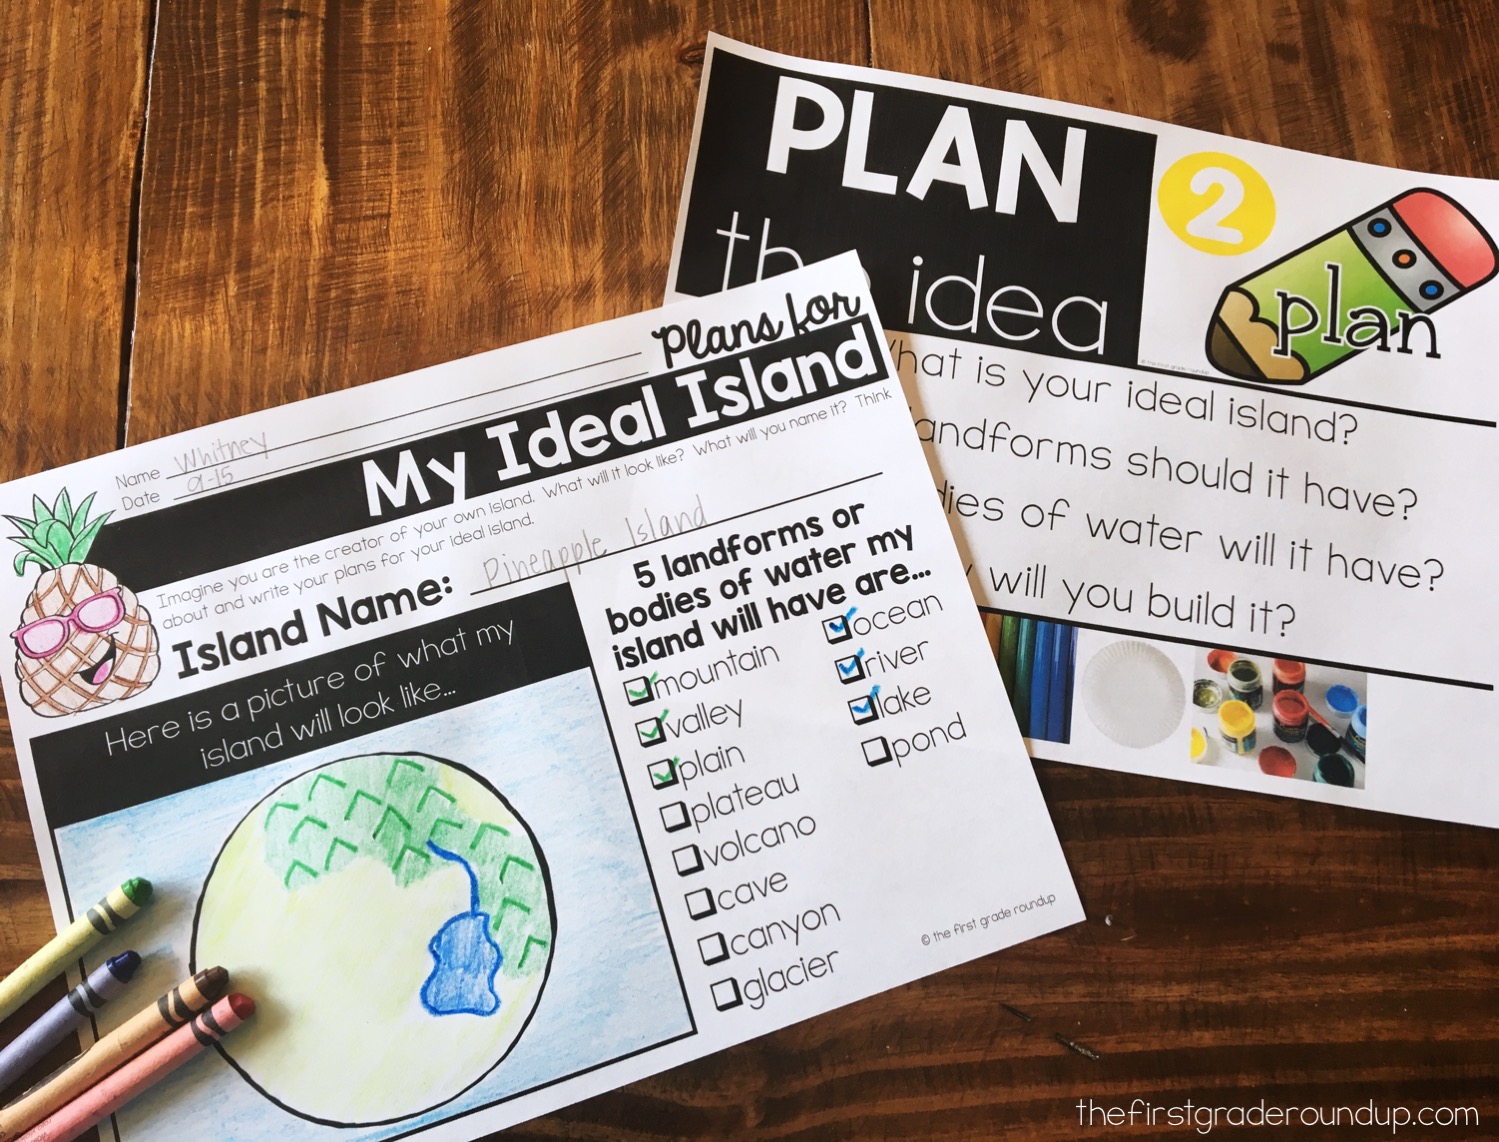
The rest of the first day is spent planning their ideal island. We pull up their questions on the Plan slide and talk about what materials they might use to build the island.
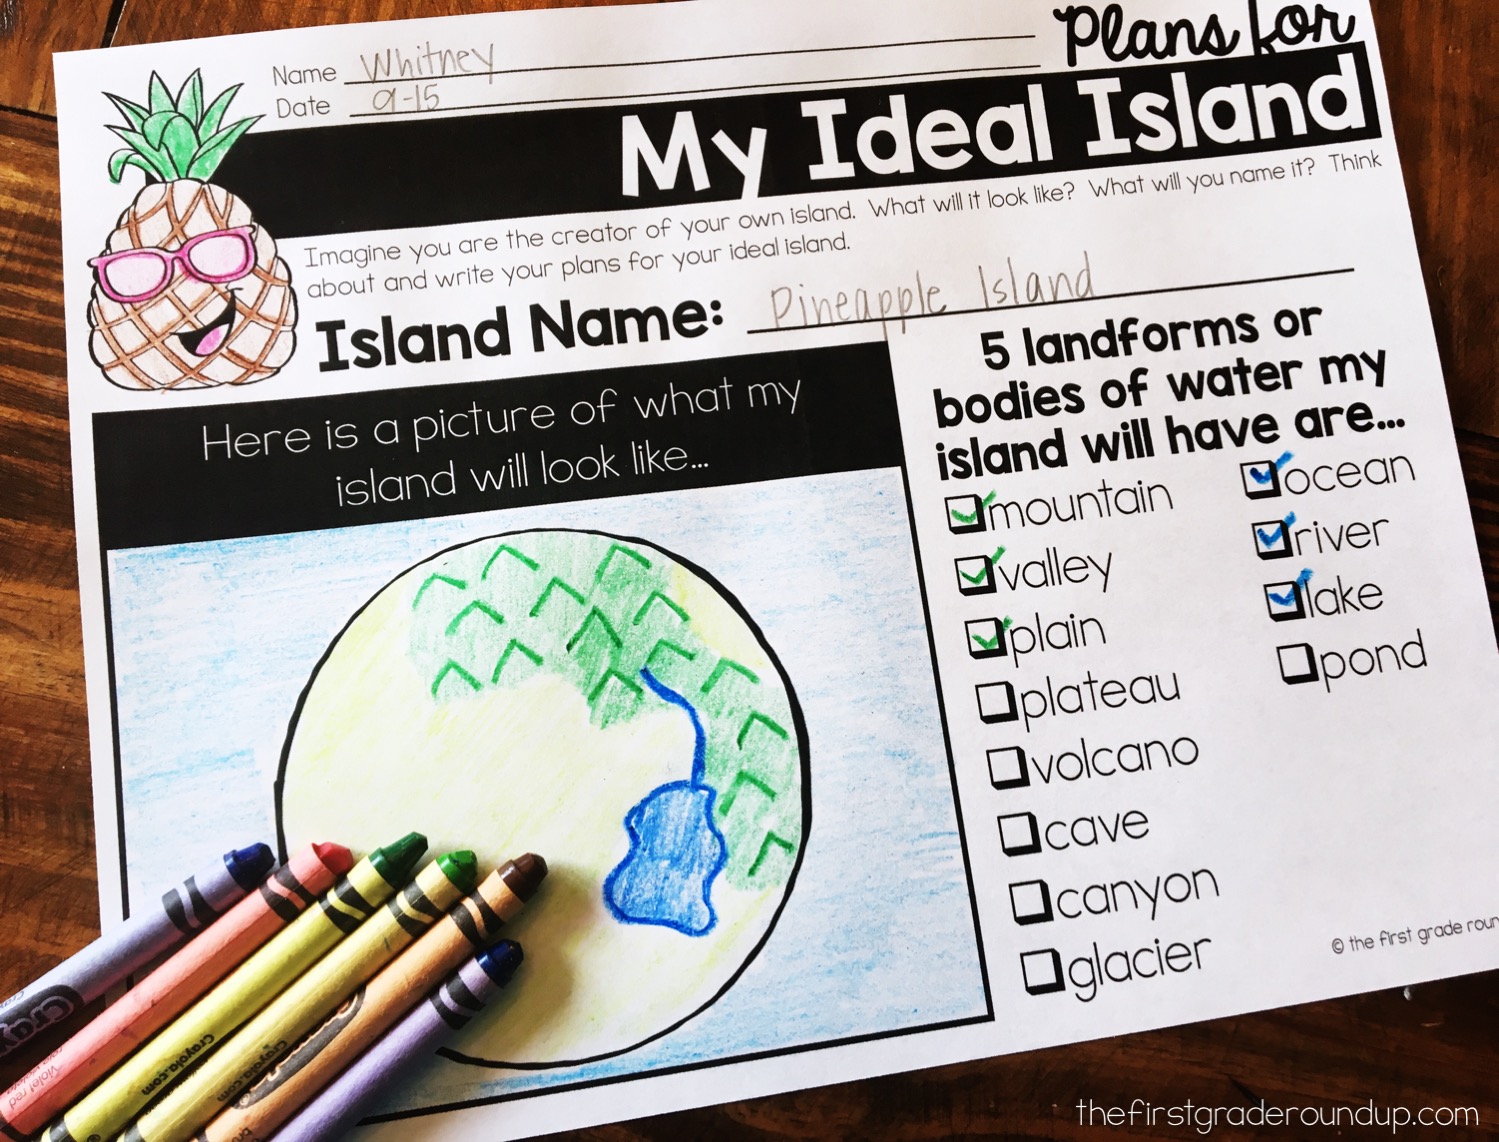
Then, they work with a partner to draw and illustrate their island. They will draw a map of the island from a bird’s eye view and use the checklist to make sure they have the landforms and bodies of water that they need. The planning page requires each island to have at least 5 landforms.
Build an Island
On the second day, partners will work to build an island on a paper plate. They can use play-doh for this or you can use this homemade salt dough recipe.

Once the island forms are built, it’s time to label all of the landforms. I like to use toothpicks and post-it flags to label these. Write on the labels first before wrapping around the toothpicks.

Here’s a peek at an island my own 2nd grader built during our Covid homeschool year. Lego volcano was the PERFECT name for my lego loving kiddo’s landform!

Once the kids are finished building, you will need to leave the islands to dry overnight.
Share and Publish the Island
On the third day of the landforms STEM activity, students can paint the island if you used homemade salt dough (no need to do this if you use play-doh) and then share. If you build the island first thing in the morning on day two, you might be able to quickly paint at the end of the day to organize your time better.
For share time, the partners will pair up with another set of partners to compare their islands. They will listen to each other talk about their island. They will observe and tell whats the same and what’s different. They will work together to fill out the Venn Diagram to compare and contrast their ideal islands.
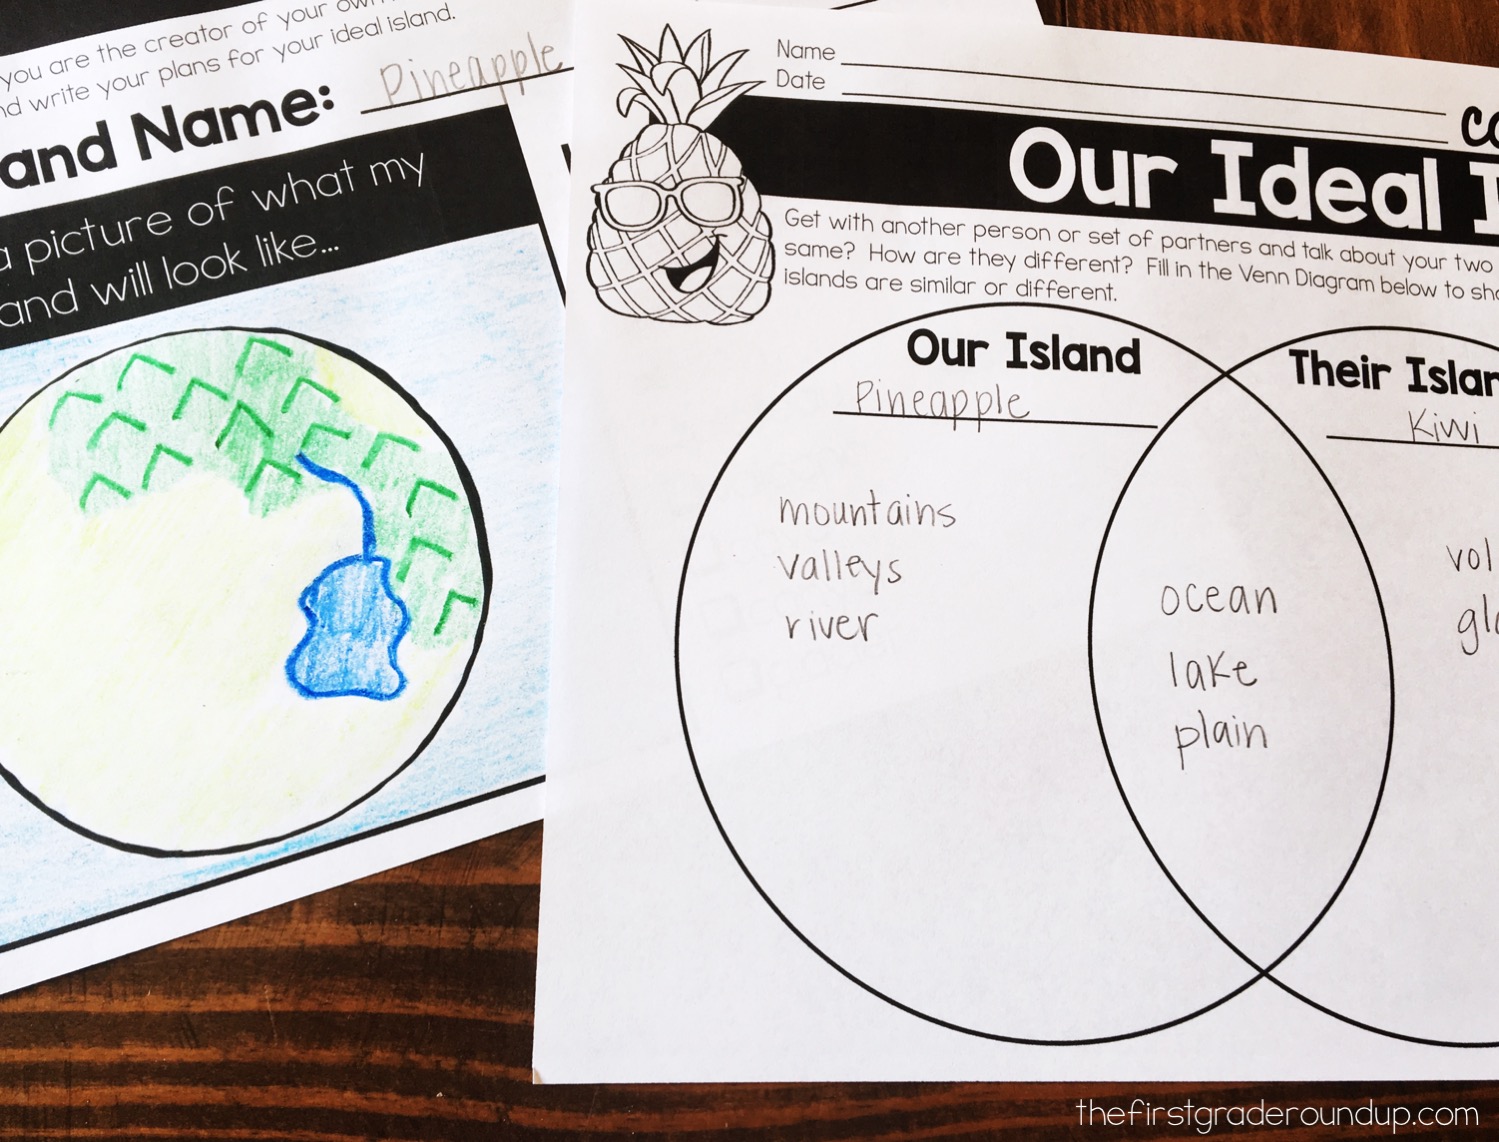
Publish the island models with the planning sheets! For the publishing step of our STEM challenges, we are just displaying them in some public way for others to see. These would be great to set out on tables in the hallway the week of Parent-Teacher conferences, or ask to display them in the school hallways or library for others in the school to see.

Get the Landforms STEM Activity
This landforms STEM activity can be found separately here and with many more landform lesson plans and activities in this Next Gen Landforms unit!

