
2 engaging light science experiments and activities for first grade
I love good science experiments that leave my first graders SHOCKED! And these two light science experiments and light waves activities are oldies, but goodies… and they never disappoint!
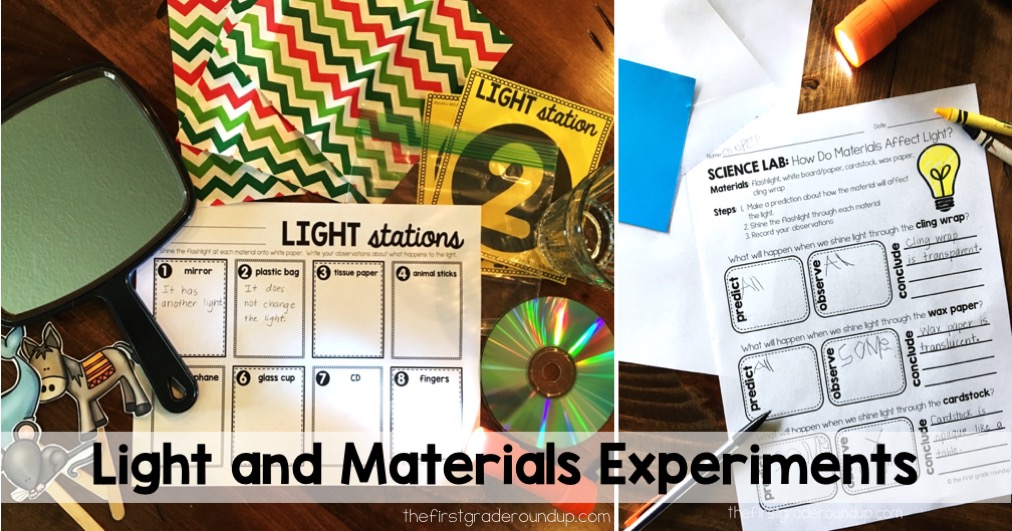
Light Exploration Stations
During the second week of our 1st Grade Next Gen Light Waves Unit, we learn how different materials affect light. We spend one day exploring a range of materials with light sources to describe how the materials affect the light. My first graders are super engaged with almost anything that is set up as stations that they get to rotate through! Add in some high level scientific exploration and it’s a win for everyone!
I set up 8 light wave stations around the room. I put one material to explore in each station. The 8 materials I use are…
- Mirror
- Tissue Paper
- Plastic Bag
- Glass Cup
- CD or DVD (If you can still find one these days!! Ask your library for an audio book disc?) 🙂
- Picture cut outs on a craft sticks (for making shadow puppets)
- Celophane
- Fingers (provided by the kids…ha!)
And then, of course, I put a flashlight at each station as well to help with the discovery and exploration.
In my light waves 1st grade science unit, I have given two response sheet options with the light stations I use or a blank template for you to use your own materials.

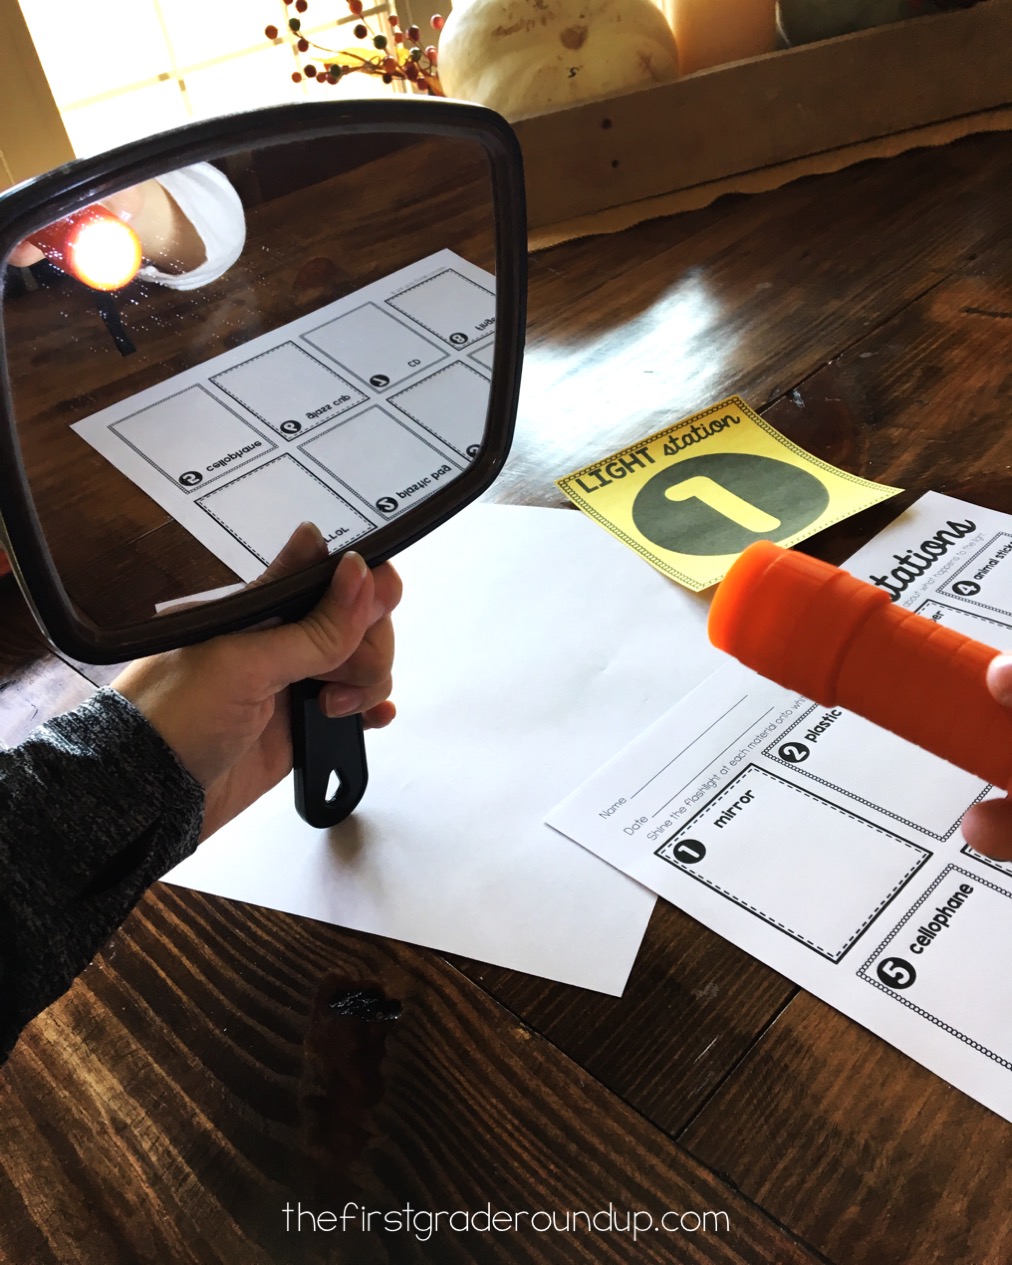
At each light exploration station, students use the material listed and a light source (like a flashlight) to explore what happens with the light when the material interacts with it. I give them some guiding questions to explore like…
- How does the light change?
- What makes the light change or stay the same?
- What would happen to the light if I move it closer/farther?
Then they get about 2 minutes to explore the effects of light on different materials! That doesn’t sound very long, but it really is once you are in the middle of it. And you don’t want to give too much time or else kids get off task… 🙂 That’s part of the art of teaching… finding just the right amount of time to maximize learning without giving enough time to lose engagement.
Transparent, Translucent and Opaque Experiment
This is one of my favorite light science experiments because it’s super easy to do, it requires very little materials, it’s super fast, and, most importantly, it’s super effective!
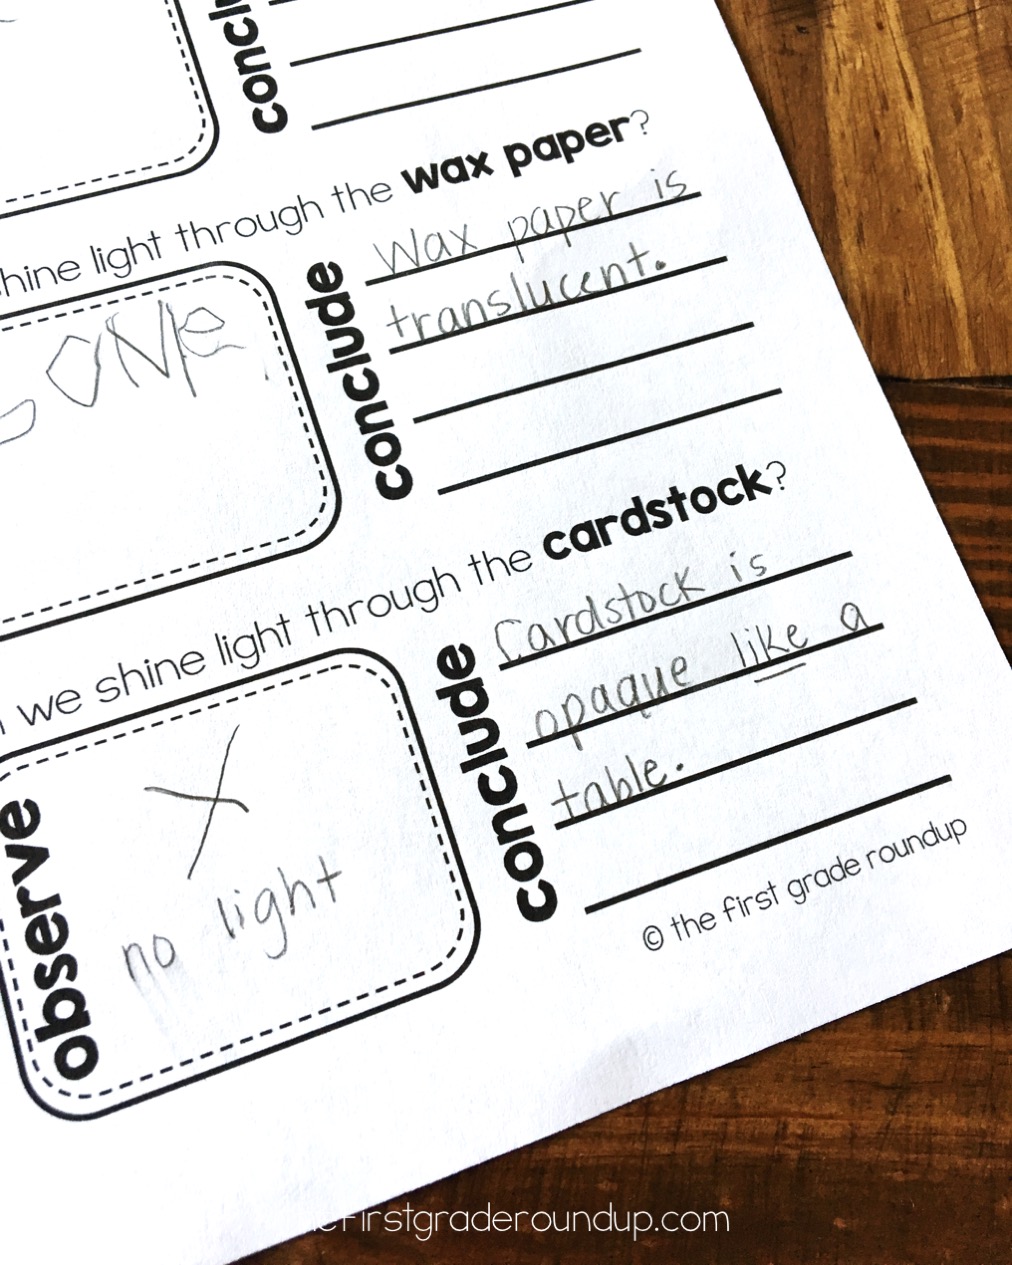
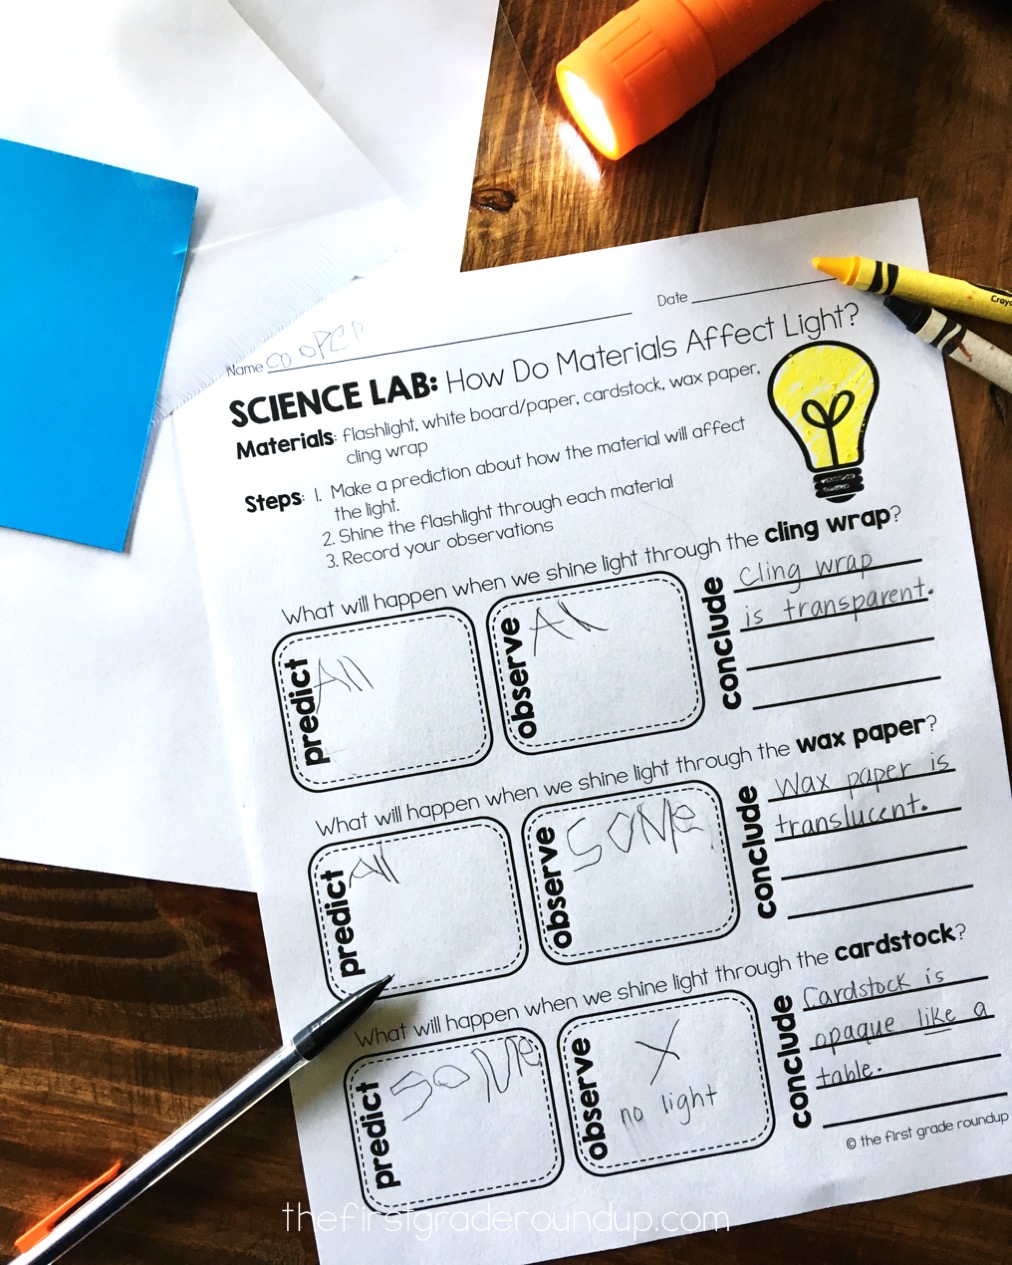
First, we use our recording sheet to write our prediction about how much light we will see when we shine the light through the cling wrap. Then we test our predictions. This can easily be done whole group or in small groups as long as you can trust your groups not to test before they predict. And I would definitely recommend doing it step by step together if you choose to do it as small groups! #learnfrommymistakes

Then, we repeat our predictions and testing for wax paper. With each material, we write a conclusion sentence together where I give them the light vocabulary words transparent, translucent, and opaque as describing words for materials.
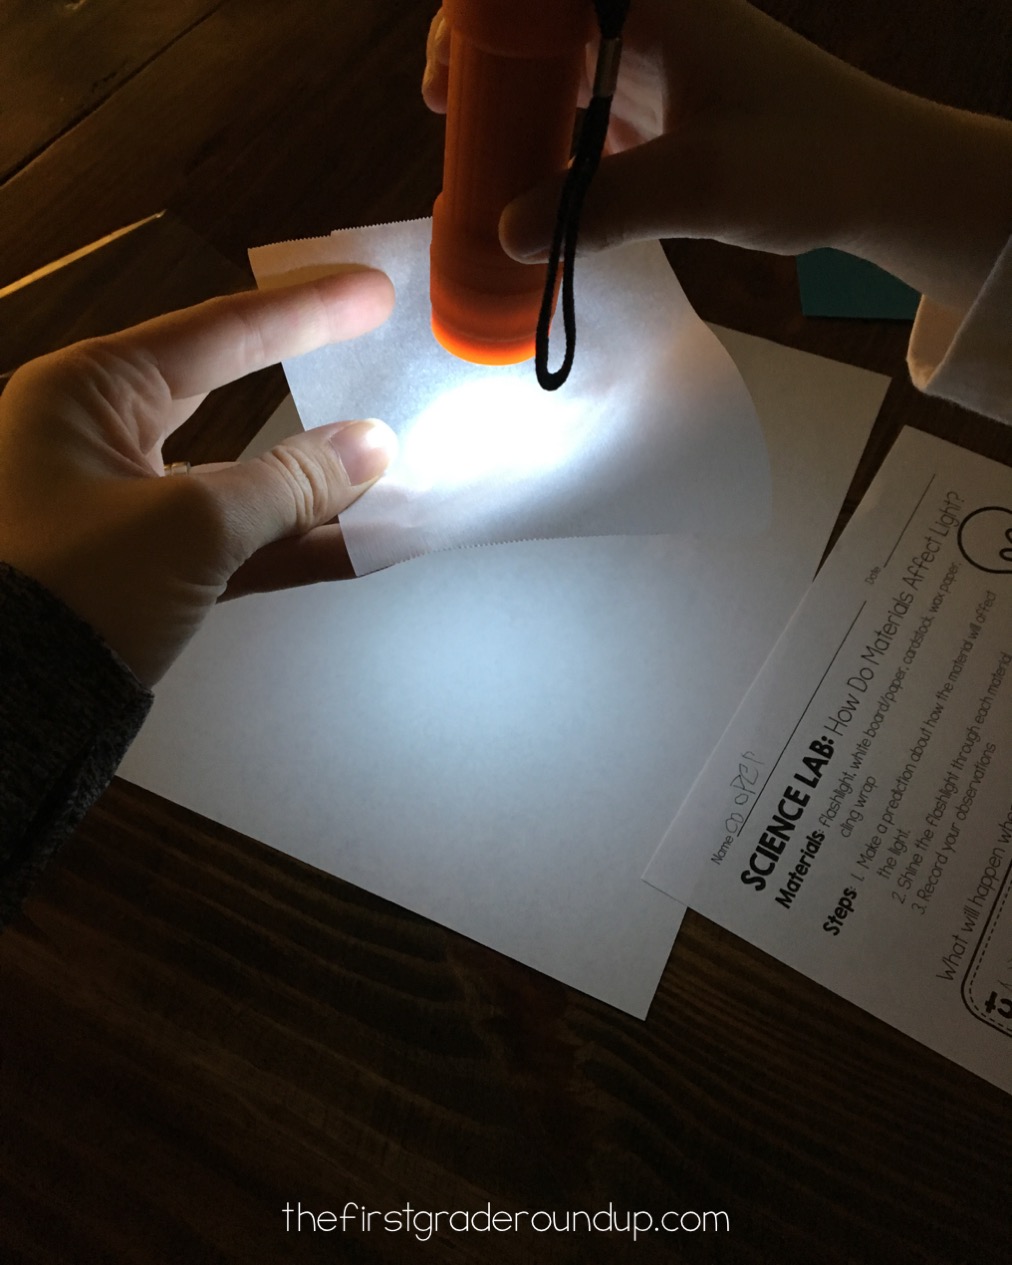
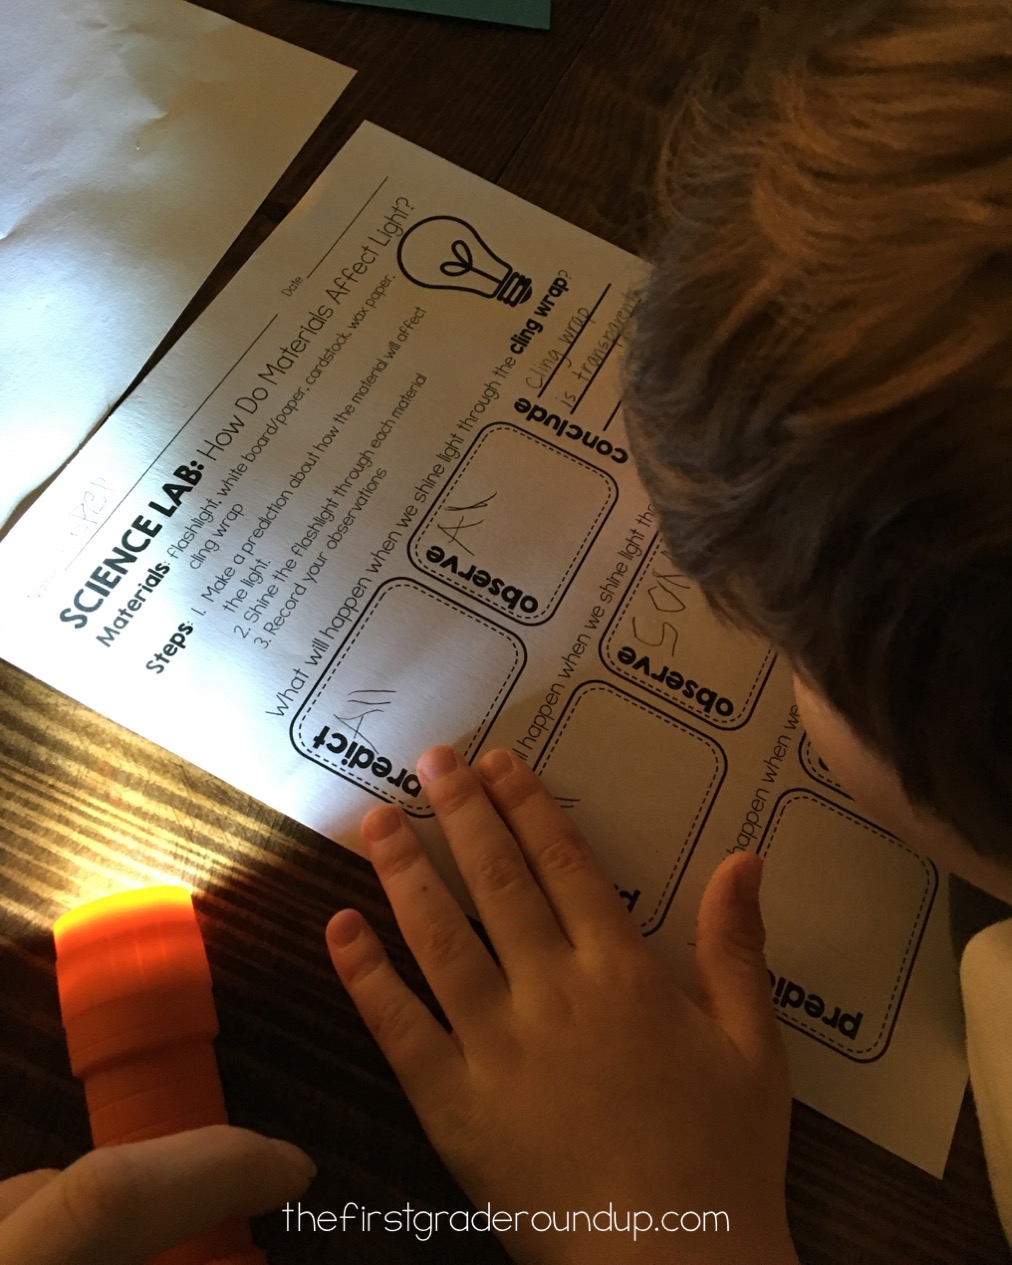
Finally, we test the cardstock!

If you have older kids or just want to extend this light waves experiment, have kids brainstorm with their table groups other materials that could be opaque, transparent, or translucent as you test and write conclusions about each material. This helps guide your kids to that application level of higher order thinking skills. My son and I did that with our opaque material so you can see what the conclusions look like both ways!
Find these light science experiments and more in this Next Gen Light Waves Unit!


Hi Whitney! These 2 activities look great for my small class of special education students. Is there anyway I can purchase just the light stations and science lab activities without having to buy the whole Light bundle?