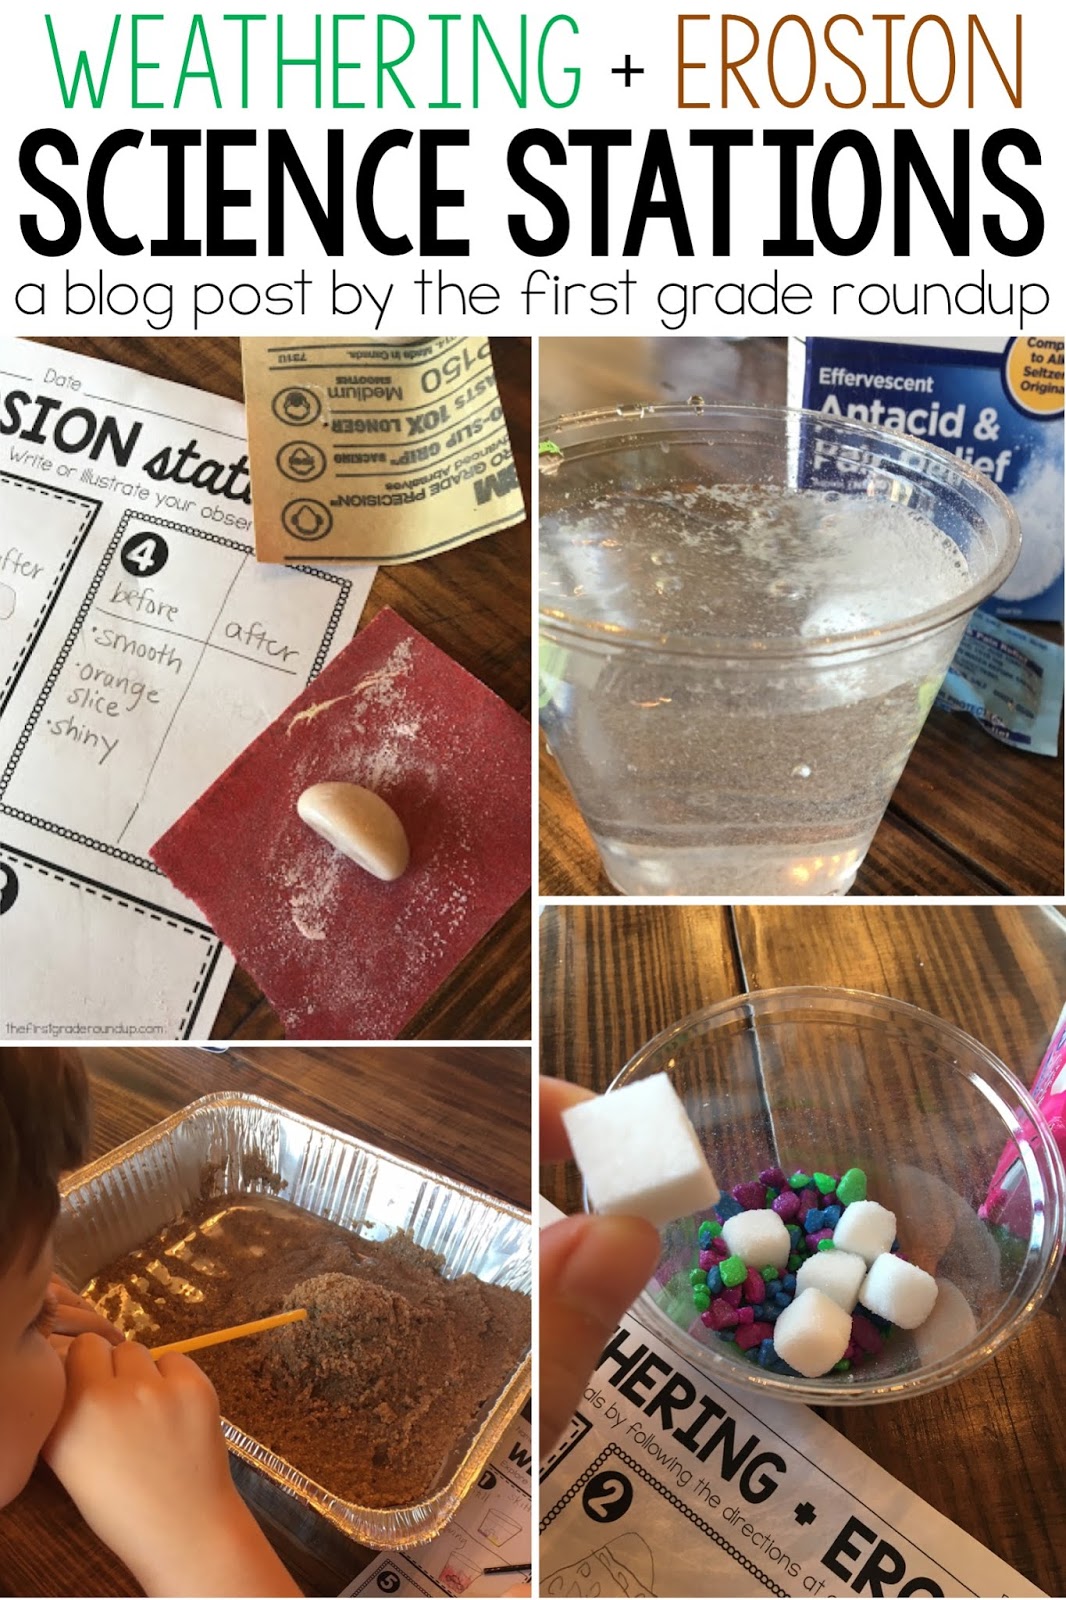
weathering and erosion activities for 2nd grade
Any time spent in my corner of the cyber world, and you’ll learn that I love stations. I love giving kids a chance to explore and learn on their own in hands on ways. Today, I’m sharing my tips and tricks for organizing and planning weathering and erosion activities you can use for exploration stations during your 2nd grade landforms unit.

(This post contains affiliate links to help fund my Diet Dr. Pepper addiction and support this corner of cyber space)
weathering & erosion Activities Set-Up
Before your station day, make sure you have all the materials you need for each of the weathering and erosion activities. Print out the station label cards with the directions on either brown (weathering) or green (erosion) cardstock and laminate.
Hang the station signs around the room. Spread out the weathering and erosion activities so that there is enough privacy to keep kids focused. Think about which stations will work okay on the floor and which ones might need a table or desk.
I also suggest coming up with your groups ahead of time, too, so that less classroom time is taken up with trivial tasks.
I am going over the 8 stations we used in this post. If you need more weathering and erosion activities, or if there are one or two of these that you don’t think will work for your classroom, you can substitute the landform word search and or crossword puzzle for a station to make an easy set up and change the pace. That’s totally up to you!

There are directions on each weathering and erosion activities label card, so you should not have to give specific directions for each station. You will need to go over expectations and any classroom management things you need to address (stay in your station, stay focused the entire time, clean your space before you move, cooperate with your group…)

Set a classroom timer for 4-5 minutes depending on your kids. When they hear the timer, they will quickly clean up their weathering and erosion activities and move to the next station. **CLEANING TIP: For stations where cups need to have the water emptied for each new group…Simply leave a bowl or foil pan for kids to dump the old water so they don’t have to run to the sink each time they clean up.
Chemical Weathering: Skittles

At this station, students will fill cups with water and then put one skittle in each cup.

One cup will stay still. For the other cup, they will swirl it slowly to mimic moving water.

Then, they will make observations on their recording sheet.

Chemical Weathering: Alka-Seltzer

Fill up a clear cup with water. Then, drop an Alka-Seltzer tablet into the cup and observe. Make observations on the recording sheet.

Physical Weathering: Gravel & Sugar Cubes

Fill a clear cup with a small handful of gravel (we used some extra gravel from our fish/shark tank!) and 5 sugar cubes. Cover the cup with a hand and gently shake the cup. Let one person shake for about 30 seconds and observe. Then, let another friend shake for about 30 seconds and observe. Let everyone have a chance at shaking the cup. Record the final observations on the recording sheet.

Physical Weathering: Sandpaper

At this station, kids will get a new rock (or you can use cheap decorative rocks from Walmart like I did…just make sure they are shiny). They will take turns rubbing the rock with the sandpaper.
Rub gently and quickly and make observations for both. Record the observations on the recording sheet.


When kids clean up, they will need to put away the rock in a separate bag (or the trash if you don’t want to keep them), so that the next group can start fresh with a new rock. The sandpaper can be reused.
Chemical Weathering: Chalk
When setting up this station, go ahead and break apart the chalk into small pieces about an inch or so long.

Students will fill one cup with water and one with vinegar. Put a piece of chalk in each cup. Observe and compare the differences in weathering. Record observations on the recording sheet. If you look closely, you can see the indentations where the chalk is weathering away.

Erosion Station: Beach
For this station set up, you will need to “build” a sand beach in the bottom of a foil pan. The day of the stations, add about an inch of water to the pan.
When students come to this station, they will gently “slosh” the water in the pan to mimic a beach. Note the word gently. And stalk those special friends to make sure they’ve noted the word gently too! 🙂
Then, they will record their observations to show how the beach changed. Before leaving this station, they will need to make sure the beach is moved back to one side for the next group. TIP: Use a spoon to fix the beach to keep the hands clean and save on clean up time!

Erosion Station: Sand + Water
To prep for this station, you need a bowl of sand, a foil pan, and water.
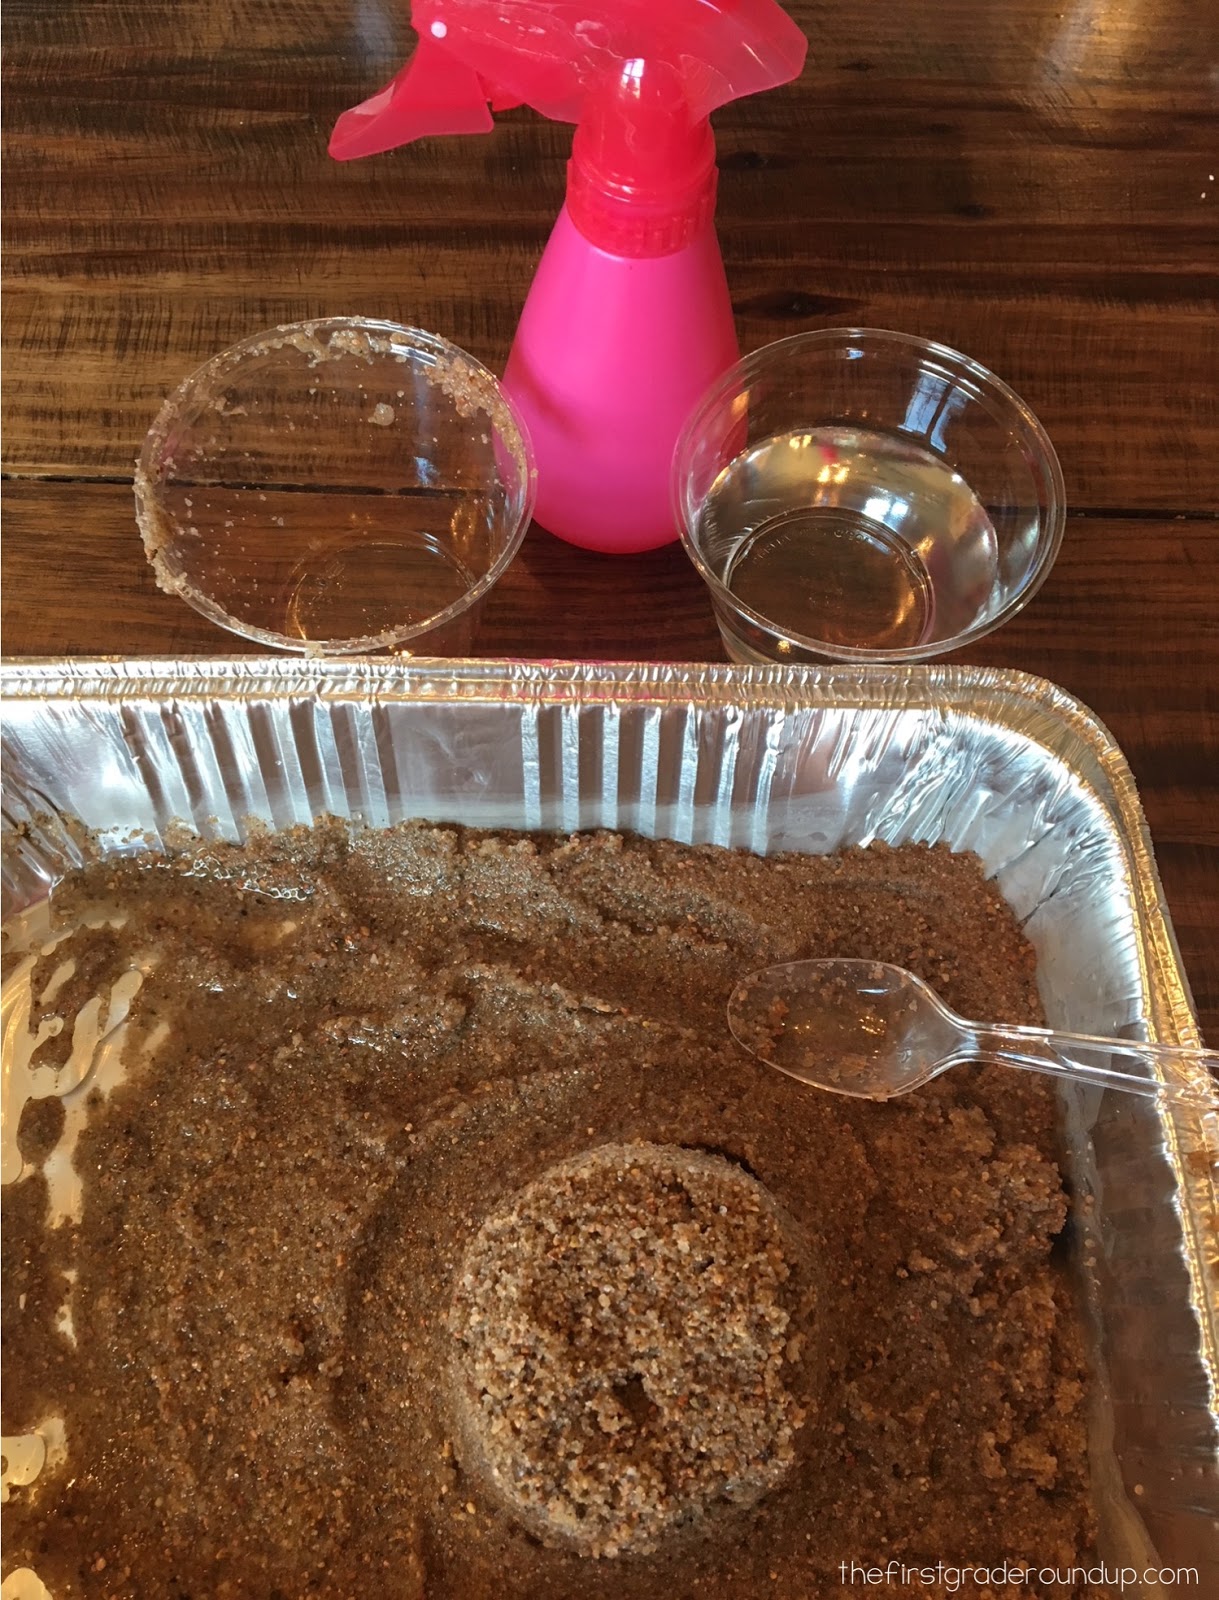
At this station, students will use a cup to build a simple sandcastle. Then, they will spray in with a water bottle and observe the changes.

We did a few times with the spray and then a few times with the direct squirt line from the bottle. My kiddo was a BIG fan of all the holes he could make in the castle.


Next, they will pour water over it from a cup and observe the changes. They can talk about the differences in the effects and why each was different.

For clean up, they just need to put the sand back into the bowl. Get an entire STEM challenge activity on building sandcastles and erosion if you want kids to study this in more detail!
Erosion Station: Sand + Wind
Prep this station the exact same way as the sand + water station, but no water is needed.

At this station, students will use a cup of sand to build a simple sandcastle again. They, they will use a straw to blow through onto the sand castle to mimic wind. We tried with 3 different sizes of straws.


They’ll observe and record any changes they see. To add to this station, put straws of different diameters and let each person try a different straw (no, I’m definitely not condoning straw sharing)! Cut straws in half to help them last longer!
These weathering and erosion activities and all the printouts you need can be found in this Next Gen Landforms unit.